Savoury Herb Waffles

FAQ
Can I make these ahead of time?
Absolutely! Make a batch, cool completely, and freeze. Reheat in a toaster or oven when ready.
Can I use dried herbs instead of fresh?
Fresh herbs give the best flavor, but if using dried, reduce the amount by half to avoid bitterness.
Can I make these gluten-free?
Yes, substitute with a gluten-free flour blend, but texture may differ slightly.
Chef’s Tips
- Don’t Overmix: A few lumps in the batter are okay; overmixing makes waffles tough.
- Customize Your Herbs: Parsley, chives, thyme, or even a little rosemary all work.
- Cheese Choices: Cheddar, gruyère, or parmesan all melt beautifully.
- Crispier Waffles: Cook a little longer on the waffle iron for extra crispiness.
- Serving Suggestion: Top with cream cheese, smoked salmon, a few capers, and fresh chives for a savory brunch twist.
Savoury Herb Waffles
These savoury herb waffles are crispy on the outside, fluffy on the inside, and packed with fresh herbs and melty cheese. Perfect for a relaxed weekend brunch, a light dinner. Paired them with crispy fried chicken, smoked salmon and cream cheese, or poached eggs and avacado, for the ultimate savoury twist.
Equipment
- Waffle Iron
Ingredients
- 2 cups all-purpose flour
- 3 tsp baking powder
- 1 tsp baking soda
- 1 tsp garlic salt
- 2 eggs
- 1¾ cups milk
- ½ cup unsalted butter melted
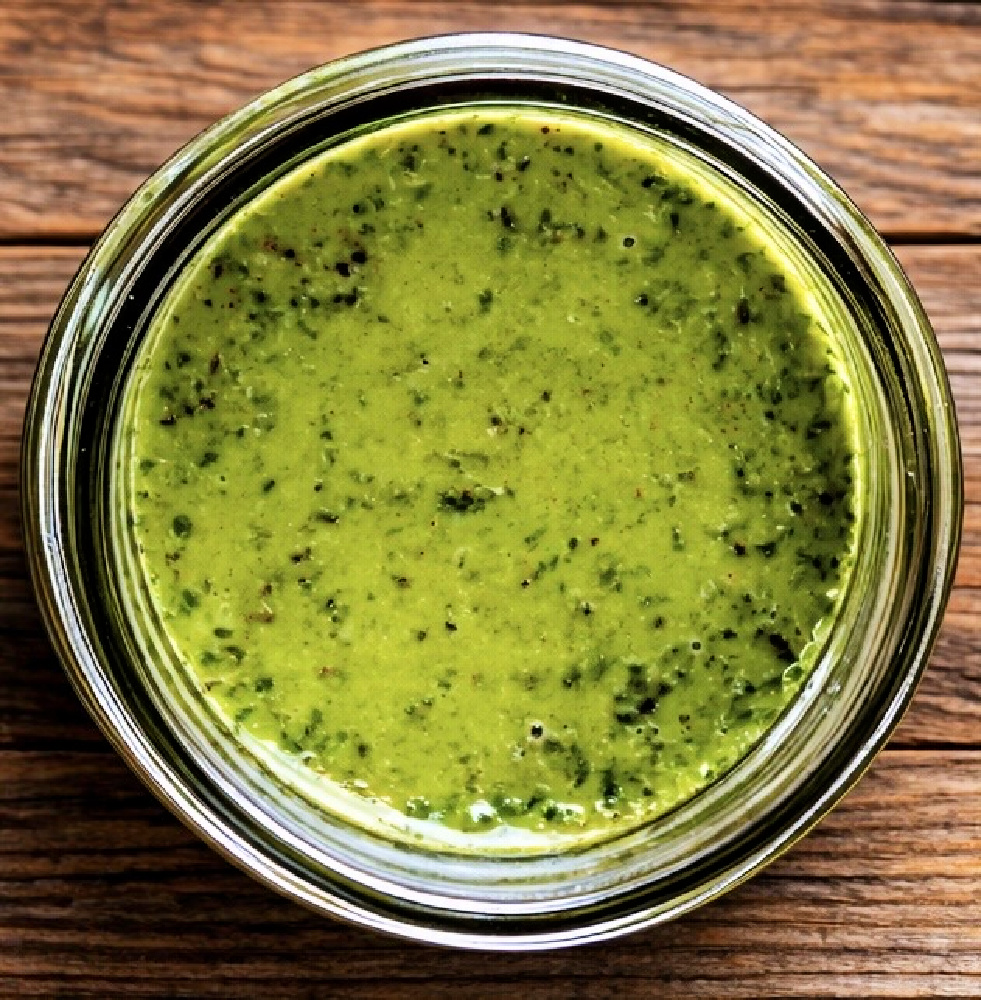
- ¼ cup chopped fresh herbs such as parsley, chives, dill, thyme, or rosemary etc.
- ½ cup grated cheese such as cheddar, parmesan, or gruyere
Instructions
- Preheat your waffle iron according to the manufacturer's instructions.
- In a large mixing bowl, whisk together the flour, baking powder, baking soda, and salt.
- In a separate bowl, beat the eggs. Then add the milk and melted butter, and whisk until well combined.
- Pour the wet ingredients into the dry ingredients and stir until just combined. Be careful not to overmix; it's okay if there are a few lumps in the batter.
- Gently fold in the chopped fresh herbs and grated cheese until evenly distributed throughout the batter.
- Lightly grease the waffle iron with cooking spray or melted butter. Pour enough batter onto the hot waffle iron to cover the waffle grid.
- Close the waffle iron and cook the waffles according to the manufacturer’s instructions, or until golden brown and crispy.
- Repeat with the remaining batter, cooking waffles in batches as needed.
- Serve the waffles warm, topped with additional fresh herbs, savoury toppings or alongside fried chicken for a classic "chicken & waffles" dinner.
Notes
Storage: Allow waffles to cool completely before storing.
Storage Layering Tip: Place parchment or wax paper between stacked waffles to prevent sticking.
Refrigeration:
- Store in an airtight container or zip-top bag for 2–3 days.
- Reheating: Warm in a toaster, toaster oven, or oven until heated through.
- Freeze in a single layer on a baking sheet until solid, then transfer to a freezer-safe bag or container, removing as much air as possible.
- Frozen waffles last 1–2 months.
- Reheating from frozen: Toast directly from the freezer or thaw in the refrigerator overnight before reheating.
- Make Ahead: Mix dry ingredients in advance; add wet ingredients just before cooking.
- Batter Consistency: Add a splash of milk if too thick, or a little extra flour if too thin.
- Mix-Ins: Cooked bacon, sautéed mushrooms, or caramelized onions work well.
- Crispier Edges: Leave waffles in the iron a minute longer for extra crispiness.
- Cheese Melting Tip: Harder cheeses like cheddar or gruyère give better structure; softer cheeses like mozzarella may make waffles gooier.
Tried this recipe?
 Mention @thewifewiththeknife or tag #wifewiththeknife